
SERIGRAPHY: HOW TO USE THIS PRINTING TECHNOLOGY
Serigraphy is an effective printing technique that allows companies to create posters, canvases, and creative illustrations, but this method can also be used to print fabrics and textiles, so it’s ideal for creating all kinds of custom clothing and products.
In this article, we’ll cover all your questions about screen printing, including:
- What is screen printing?
- Why is screen printing used?
- The step-by-step screen printing process.
What is serigraphy?
Screen printing is essentially the process of transferring a design onto a plain piece of silk, using screens and ink. It is a slow and meticulous process and requires a high level of skill, but the amazing results are unbeatable.
It has been used for over 100 years in the commercial and artistic sectors and is primarily used for printing images and designs on T-shirts, tote bags, ceramics, wood, paper, and other materials.
Why is serigraphy used?
Screen printing is popular for the high-quality look and feel that it usually generates in its final products.
Natural fabrics are the most suitable for screen printing, as they tend to absorb ink much better than synthetic fabrics – so for that reason, screen printing works perfectly on silk. Despite the technological advances that allow to print much faster and more efficiently through digital printing, screen printing still has its place because of the results it offers.
The process of serigraphy step by step
Screen printing can be done in many ways, but the basic technique remains the same. The long process involves various steps to achieve the desired results. Here is a general overview of this printing technique:
Design creation
First, the design to be printed on the fabric is printed on a transparent acetate film, which will be used to create the stencil or screen.
Preparation of the screen
The method gets its name from the use of a screen to print the design. There is no “one size fits all” approach, and choosing the right mesh screen involves evaluating the complexity of the design you will print and the material that needs printing.
Once the screen is chosen, it is then coated with a layer of photo-reactive emulsion.
Exposing the emulsion
The transparent acetate film that holds the design is then carefully placed on the emulsion-coated mesh screen. It is placed under a very bright light, which involves the hardening and development of the photo-reactive emulsion. This is an important step in the creation of the design footprint, as all areas of the screen covered by the design will remain in liquid form.
Stencil creation
The screen must be exposed to light for a while before the emulsion hardens on the areas not covered by the design. To leave a clear pattern on the screen, any emulsion left in liquid form will be carefully rinsed off.
Once the screen is in a position where only hardened emulsion remains, it will be carefully dried and the printer will be able to make the necessary corrections manually, to ensure that the print is as accurate as possible. This means that the printer now has a completed stencil ready to be used for screen printing.
Preparation for screen printing
The silk to be printed is laid flat on the printing press, and the screen is carefully placed on top in the desired position, ready for printing.
Printing
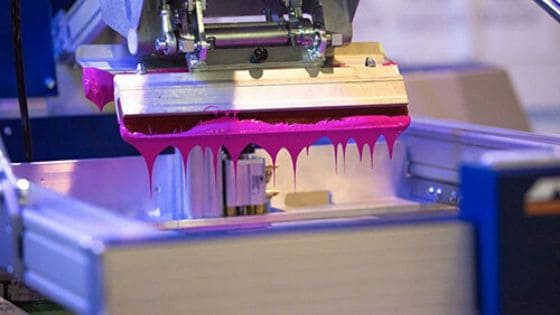
Then the printed design finally starts to come to life! The screen is placed on the printing plate, on top of the piece of silk. A thick layer of ink of the desired color is applied to the top of the screen and a squeegee (a rubber blade attached to a long metal handle) is used to slide the ink over the entire width of the screen, covering the whole stencil.
The way this works is that the ink is pushed through the opening of the stencil and is then transferred to the silk underneath, leaving an ink pattern in the desired design. This can be repeated as many times as needed using the same template if multiple products are to be created.
Once the order is complete and the stencil is no longer needed, the screen will be washed with a special fluid to remove the hardened emulsion, leaving the mesh ready to be reused to produce new stencils.
Quality control and finishing
Finally, by the process of passing the silk through a special dryer, the ink is dried to reveal a smooth, colorfast finish design. The final product will be checked and carefully washed to remove any traces of emulsion residue and ensure that it is ready for use.
5/5 - (2 votes)
Mohamed
SAC Marquage
Related Posts

5 Reasons to choose a chemical etching on stainless steel
" acid etching on stainless steel"Modern marking is a solution intended for professionals for the…
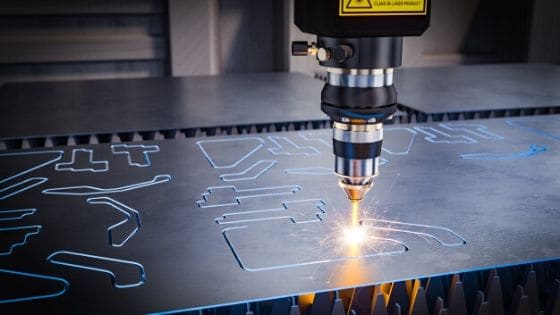
How does laser marking work?
"laser marking"Laser marking is used to personalize the design of objects and products: engraving the…
This Post Has One Comment
Very well explained, very professional.